Are you looking to create a show-stopping centerpiece for your next celebration? A Barbie cake is the perfect way to add magic and style to any occasion, especially for kids’ birthday parties. This guide will walk you through everything you need to know, from gathering the right tools and ingredients to decorating the cake like a pro. Whether you’re a baking enthusiast or a beginner, you’ll learn how to make a stunning Barbie cake that will wow your guests and create lasting memories. Let’s get started!

Tools and Ingredients You’ll Need for a Barbie Cake
Essential Tools
Before you start, make sure you have the right tools to simplify the process. You’ll need a clean Barbie doll, preferably one designed for cake decorating, as it will become the centerpiece of your design. A dome-shaped cake mold is ideal for creating the skirt of the dress, while piping tips and bags will help you add detailed frosting designs. Don’t forget a turntable, which makes decorating and rotating the cake much easier.
Key Ingredients
To bring your Barbie cake to life, gather these essential ingredients:
- A reliable cake mix or homemade batter in your favorite flavor, such as vanilla or chocolate.
- Smooth and creamy buttercream frosting to create the crumb coat and add texture.
- Flexible fondant for a polished, elegant finish.
- Vibrant food coloring to customize the dress and decorations to your desired theme.
Optional Extras
Want to make your Barbie cake truly unforgettable? Add a touch of magic with edible glitter that sparkles under the light. Decorative cake toppers or edible sprinkles can add an extra layer of creativity. You can also personalize it with a themed nameplate or edible flowers for added flair.
Preparing Your Workspace
Set yourself up for success by organizing your workspace. Ensure your tools and ingredients are within easy reach, and clean your countertop to avoid any mess. Lay out your supplies, like piping bags, spatulas, and bowls, so you can focus on crafting the perfect Barbie cake without interruptions.
Baking the Perfect Base for Your Barbie Cake
Choosing the Right Cake Recipe
The base of your Barbie cake is crucial, so choose a recipe that will give you the best structure and taste. Vanilla cake is a classic choice that pairs well with any frosting and fondant color. Chocolate cake provides a rich flavor, perfect for those who love a deeper taste. If you’re looking for something a little different, marble cake combines both vanilla and chocolate, offering a fun and visually appealing mix of flavors. Whichever cake you choose, make sure it’s moist enough to hold the doll securely while giving a light texture when cut.
Shaping the Cake
When it comes to shaping the cake, there are two main methods: using a doll cake mold or carving manually. A doll cake mold is designed specifically for this purpose, with a dome shape that allows you to place the Barbie doll inside. If you don’t have a mold, you can bake two round cakes and carve them into a dome shape, carefully trimming the edges to fit the doll. Once the cake has cooled and you’ve shaped it into a skirt-like form, it’s ready for frosting and decorating.
Layering the Cake
For a Barbie cake to stand tall and stable, you need to create a strong foundation. Layer the cake evenly, making sure the base layer is flat and solid before stacking. You can use a serrated knife to level the top of each cake layer and ensure uniformity. As you stack, don’t forget to add a thin layer of frosting or jam between each layer to help it stick and add flavor. This also gives your Barbie cake more stability and height.
Cooling and Prepping
Make sure the cake is fully cooled before you start decorating it. A warm cake can be difficult to work with and may cause your frosting to melt or slide off. Once cooled, trim any uneven edges to make the surface smooth. If your cake has risen too much in the center, use a serrated knife to gently level it. At this point, it’s important to refrigerate the cake for 20-30 minutes before applying the crumb coat to ensure it holds its shape while you decorate.

Decorating Your Barbie Cake: Step-by-Step Guide
Preparing the Barbie Doll
Before placing your Barbie doll in the cake, wrap the doll in plastic wrap or parchment paper to protect it from the frosting. You can also cover the doll’s body with a layer of fondant or wax paper to prevent it from coming into direct contact with the cake. Once wrapped, insert the doll into the cake carefully, ensuring the bottom of the doll sits snugly into the cake, allowing the “skirt” of the dress to form around it. Secure the doll upright to ensure it stays in place during decoration.
Applying the Crumb Coat
The crumb coat is a thin layer of frosting applied over the entire cake to lock in crumbs and provide a smooth surface for the fondant or final buttercream layer. Use a spatula to spread a layer of buttercream frosting evenly over the cake. Don’t worry about perfection; this is just a base layer to seal the cake. Once you’ve applied the crumb coat, refrigerate the cake for 20 minutes to set it before moving on to the next stage of decoration.
Designing the Dress
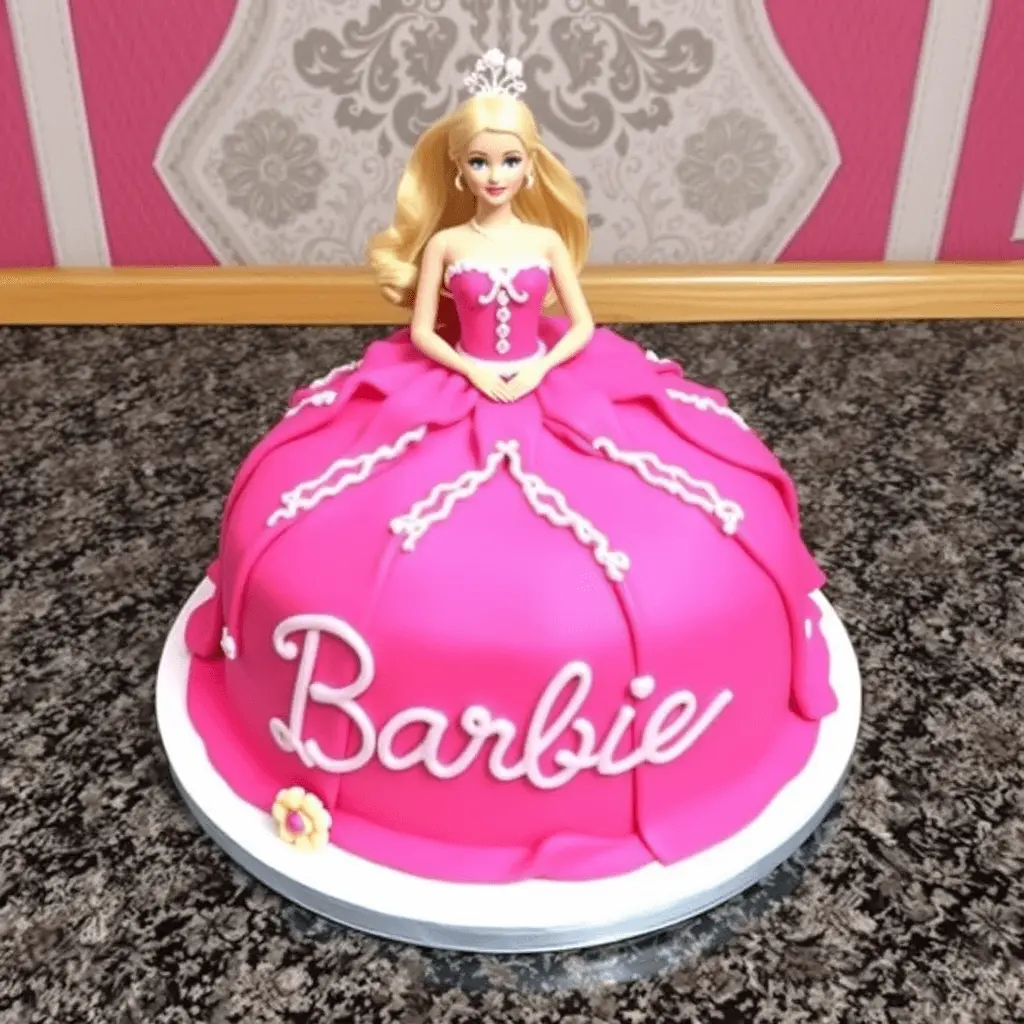
Now comes the fun part—designing Barbie’s dress! You can either drape fondant over the cake to create a smooth, elegant look, or pipe frosting to form beautiful textures. If you’re using fondant, roll it out to a thin layer and gently place it over the cake, smoothing it as you go. For a more intricate design, use a variety of piping techniques to create ruffles, pleats, or a lace effect. Don’t forget to leave some room around the doll’s waist for decoration, and ensure the dress flows seamlessly down the cake.
Adding Final Details
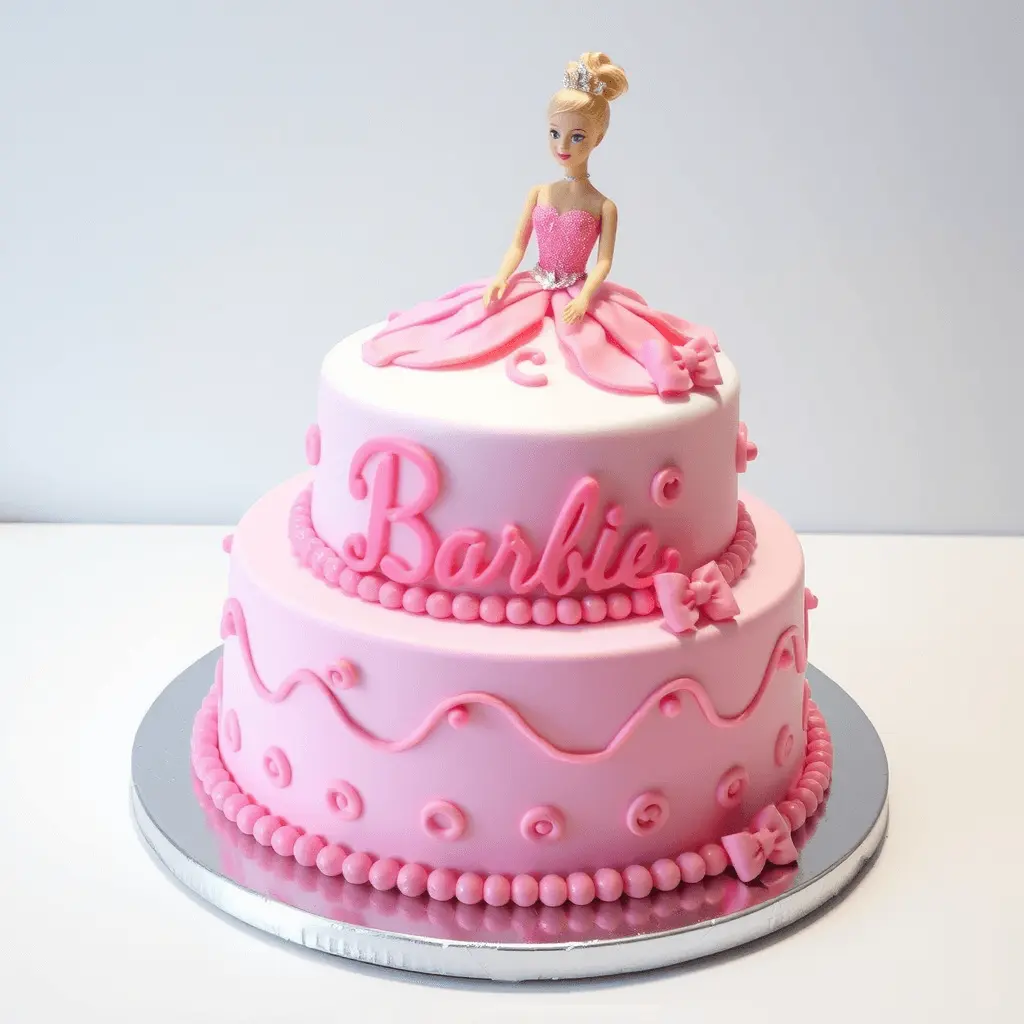
Once the dress is complete, it’s time to add the final touches that will make your Barbie cake truly sparkle. Sprinkle some edible glitter over the fondant for a magical effect. You can also add decorative edible flowers or buttercream flowers around the bottom of the cake for added elegance. For a personal touch, you might want to add a nameplate or small decorative elements, such as ribbons or beads, to complement the theme of the party. These final details bring the Barbie cake to life and make it truly memorable.

Creative Barbie Cake Design Ideas for Inspiration
Classic Princess Look
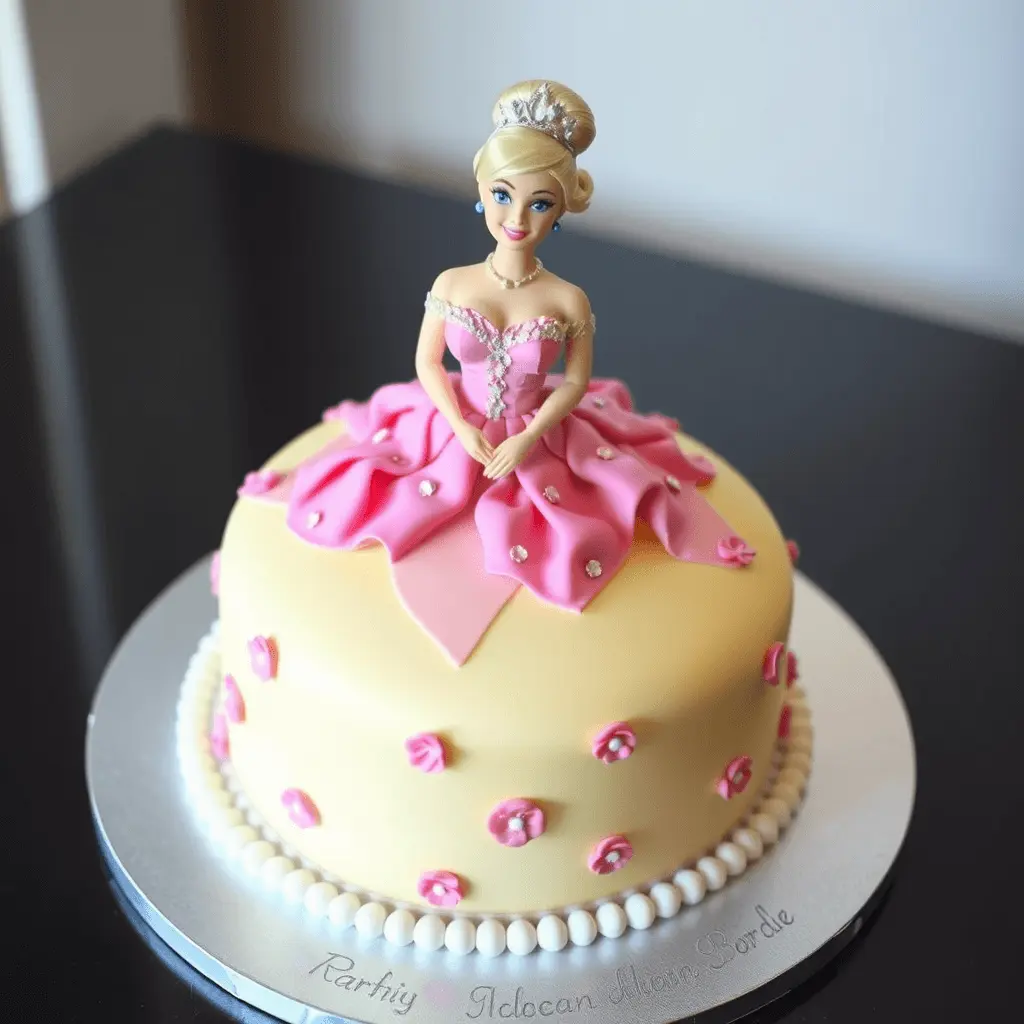
For a timeless Barbie cake, opt for a pink and glittery design that captures the classic princess vibe. Use soft pastel pinks for the dress, accented with edible glitter or shimmer to give the cake a magical, royal feel. Add delicate fondant ruffles or piped frosting for texture, and finish with edible pearls or edible lace for a touch of elegance. This design is perfect for birthday parties or themed celebrations that embrace fairy-tale fantasies.
Modern Barbie Cake Styles
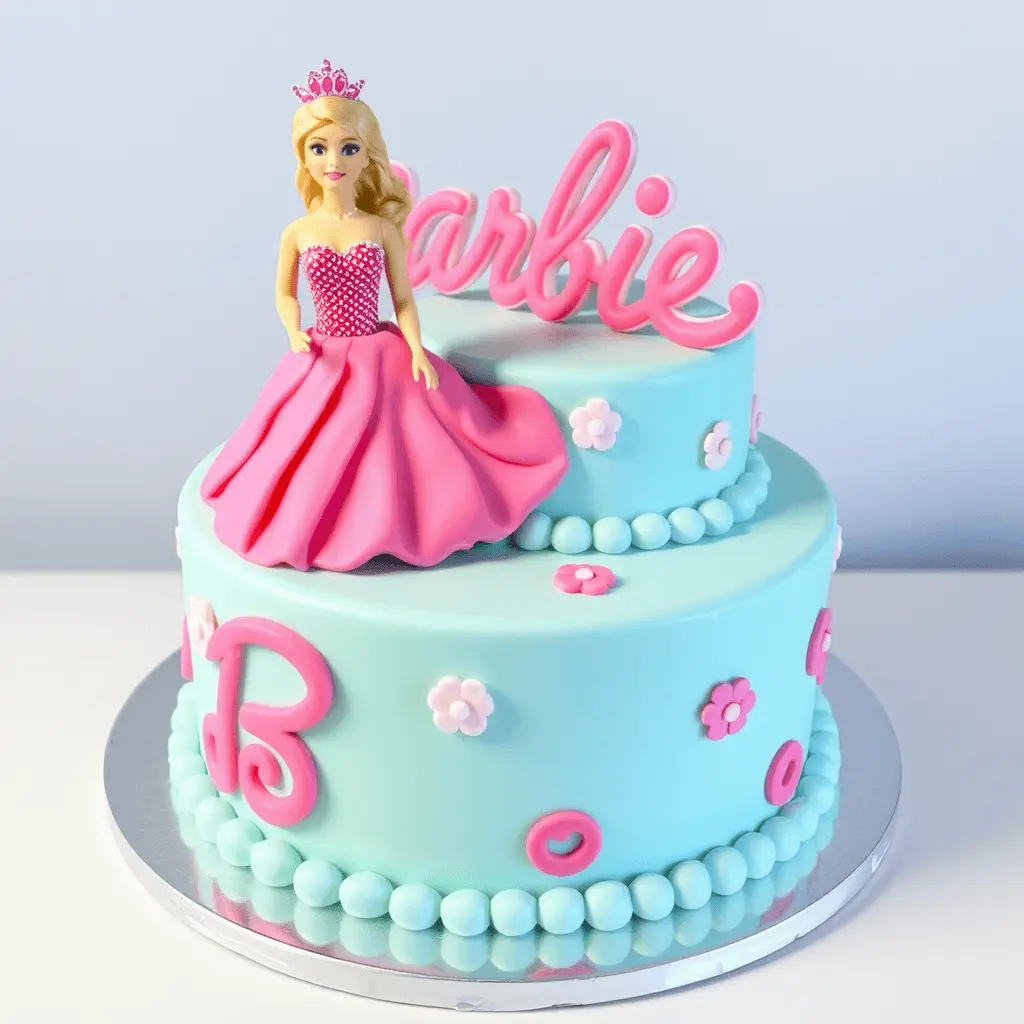
If you’re looking for a more contemporary twist, go for bold colors and trendy accents. Think bright neon shades like turquoise, fuchsia, or even ombre gradients. Use geometric patterns or abstract designs to create a more modern aesthetic. Adding gold leaf, metallic accents, or funky edible decorations can give the cake a unique, chic look that appeals to both kids and adults alike.
Seasonal Themes
Barbie cakes can also reflect seasonal themes for a festive touch.
- Winter Wonderland Barbie: Use cool blues and whites, adorned with snowflakes and icy details.
- Tropical Barbie: Incorporate vibrant tropical colors like greens, yellows, and pinks with palm leaves, flowers, and fruity decorations.
These seasonal designs create a whimsical atmosphere that aligns perfectly with the occasion.
Custom Designs
Personalize your Barbie cake by matching it to the party theme. Whether it’s a beach party, princess ball, or superhero adventure, customizing the dress and decorations to the theme adds an extra layer of thoughtfulness. Use themed decorations like tiny stars, themed cake toppers, or matching color schemes that reflect the party’s mood. Custom Barbie cakes are always a hit for making celebrations memorable.
Explore a variety of nut-free cake recipes perfect for birthday celebrations here

Tips for Serving and Storing Your Barbie Cake
Cutting the Barbie Cake Without Ruining the Design
Cutting a Barbie cake requires a bit of care to preserve the design. Start by carefully removing the Barbie doll from the cake before slicing. Use a sharp, serrated knife to cut through the cake layers, making sure to follow the natural shape of the “skirt” to avoid disturbing the dress. If the fondant is thick, dip the knife in warm water before each cut to help it glide smoothly. For the best results, cut in sections rather than trying to cut through the entire cake at once.
Serving Suggestions
To complement your Barbie cake, consider pairing it with refreshing drinks and other desserts. Fruit punches, lemonade, or even themed mocktails can be great choices for kids’ parties. If you’re serving the cake for a more sophisticated event, pair it with tea or coffee for a light, elegant touch. For extra sweetness, consider offering additional cookies, cupcakes, or a fruit platter to round out the dessert table.
Storing Leftovers
If you have any cake left after the celebration, it’s important to store it properly to maintain freshness. Wrap the cake tightly in plastic wrap and then cover it with aluminum foil. Store it in the fridge for up to 3 days to keep the cake moist and prevent the frosting from melting. If you have leftover fondant decorations, remove them before storing, as fondant may soften over time in the fridge. You can also freeze the cake if you plan to keep it for longer—just be sure to wrap it securely to avoid freezer burn.
Troubleshooting Common Issues
Baking a Barbie cake is a fun and creative process, but it’s not without its challenges. Here are some common issues and how to fix them:
- Smudged frosting: If your frosting gets smudged, gently smooth it out with a warm spatula or scrape off the excess and apply a fresh layer.
- Uneven layers: If your cake layers are uneven, use a serrated knife to level them out. If the cake is too tall, trim the top layers to achieve the desired height.
- Fondant cracks: If your fondant cracks while decorating, lightly moisten the area with a little water and gently smooth it out with your fingers. You can also patch small cracks with extra fondant.
Looking for another show-stopping centerpiece? Check out our guide on how to create a stunning Gender Reveal Cake with a hidden surprise!
Now that you have all the tips and tricks to create a show-stopping Barbie cake, it’s time to get baking! We encourage you to try making your own Barbie cake at home, and don’t forget to share your creations on social media. Tag your photos with our blog’s hashtag or mention our Pinterest boards for a chance to be featured! If you loved this guide, be sure to check out our other birthday cake ideas and creative cake tutorials on our website. Let your imagination run wild, and let your Barbie cake be the star of your next celebration!
